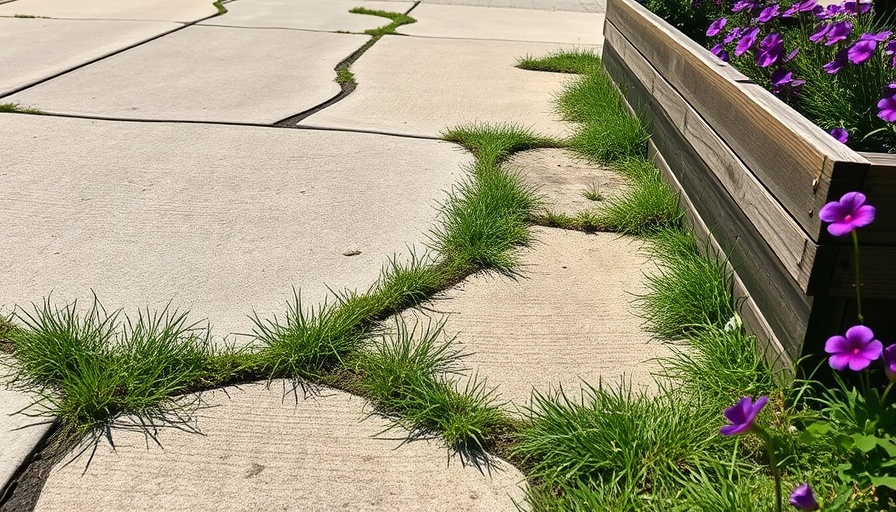
Transform Your Driveway: The Affordable DIY Crack Repair Guide
Cracks in a concrete driveway can be unsightly and troublesome, but fixing them doesn’t have to break the bank. With a modest budget of $10 to $60 and just a few hours of work, you can enhance your property’s aesthetic and value. This comprehensive guide unpacks a practical approach to driveway crack repair, helping you effectively tackle those dastardly splits in your concrete surface.
Why Do Driveways Crack?
Understanding why your driveway is cracking can inform your repair strategy. Concrete can crack due to several factors including temperature changes, moisture, heavy traffic, and even soil conditions beneath the surface. For homeowners interested in DIY projects, knowing these factors not only helps in effective repairs but also in preventing future issues. For instance, if your driveway is subjected to a lot of moisture, consider applying a sealant that helps repel water to mitigate cracking in the first place.
The Essential Tools and Materials You Need
To get started, you will need a few tools and materials:
- Tools: Caulk gun, chip brush, leaf blower or broom, pocket knife, screwdriver, shop vac, spray bottle.
- Materials: Backer rod, concrete crack filler, disposable gloves, sand, small dowel.
Gathering these items before you start will accelerate your repair process and ensure you don’t have to pause for missing materials.
Step-by-Step Guide to Fixing Driveway Cracks
Follow these steps to repair your driveway cracks like a pro!
Step 1: Choose Your Crack Filler Wisely
There are two primary types of concrete crack fillers: self-leveling and non-sag. Self-leveling fillers are ideal for filling narrow and irregular cracks as they flow into place with ease. Alternatively, non-sag fillers are thicker, making them suitable for filling larger cracks or vertical surfaces. For most homeowners, self-leveling options provide the best results with minimal effort.
Step 2: Preparation is Key
Before applying the filler, ensure the area is clean and dry. Use tools like a shop vac and chip brush to clear out debris and weeds. A properly prepared surface allows the filler to adhere better, ensuring a longer-lasting repair.
Step 3: Filling in Cracks
When you’re ready to fill, cut your caulk tube at a steep angle. Filling the crack thoroughly is crucial, so pour the filler generously, allowing it to settle into place. For deeper cracks, be sure to add a backer rod first, as this will provide support and continuity for the filler.
Step 4: Final Touches
After filling the crack, let the filler dry per the manufacturer’s instructions. Depending on the weather conditions, this might vary. Keeping the area clear of foot traffic and moisture during this time is essential to achieving a successful repair.
Step 5: Seal Your Driveway
For enhanced durability, consider sealing your driveway once repairs are complete. Sealing not only protects your recent repairs but can also improve the overall look of your driveway, extending its lifespan. Most sealants should be applied once the temperature is consistently above 60°F and there’s no rain expected.
Benefits of Tackling DIY Driveway Repairs
DIY driveway repairs present numerous advantages. Firstly, homeowners save money by avoiding costly contractor fees. Secondly, engaging in DIY projects empowers you with a sense of accomplishment and equips you with handy skills for future home maintenance.
Furthermore, the flexibility of doing it at your convenience eliminates the hassle often associated with scheduling laborers. Investing a few hours now not only pays off in current repairs but also in maintaining property value and future peace of mind.
Conclusion: Ready, Set, Repair!
Your driveway is one of the first things visitors see, and maintaining it is essential. With these practical tips, you can effectively repair cracks and enhance your home's curb appeal without incurring hefty expenses. Don’t underestimate the impact that tidy, well-maintained concrete can have on your property’s value!
If you're passionate about home maintenance, consider signing up for a newsletter or a DIY workshop that details more projects like this, ensuring you continue to develop your handyman skills. Remember, the best repairs are the ones you take on yourself!
 Add Row
  Add
Add 


Write A Comment