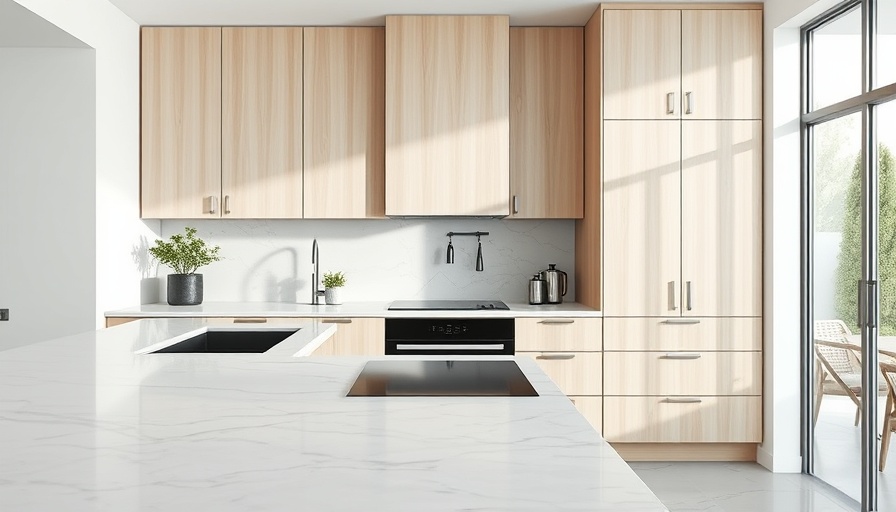
Transform Your Kitchen: The Delight of DIY Countertop Installation
When it comes to updating your kitchen, few projects deliver as immediate and impactful results as installing new countertops. The prospect of replacing them may seem daunting, but with the right tools and tips, this common DIY project can be both fulfilling and manageable. Whether you opt for laminate or wood, the beauty of self-installation lies in the sense of accomplishment and the tailored aesthetic you bring to your home.
Understanding Your Space: The Key to Successful Installation
Before diving into the installation process, take a moment to assess your kitchen layout. A few simple checks can save you headaches later on. Start by confirming that your cabinets are level. Use a two or four-foot level to ensure that the tops of your cabinets align perfectly, as uneven surfaces can complicate your project. If corrections are necessary, adjust the cabinets or use shims where needed. This foundational step is crucial for achieving that seamless and professional-looking finish.
Planning Your Cuts: Precision Makes Perfect
Once your workspace is ready, lay out the countertop pieces to check their fit. It’s essential to mark where cuts will be made, especially in corners and along walls that likely won't be perfectly straight. Employ a straightedge to identify irregularities; this helps you create markings for adjustments, ensuring tight seams and minimizing visible gaps. Remember, taking the time to get these details right will enhance both the appearance and functionality of your kitchen.
Tools of the Trade: What You’ll Need for the Job
The right tools make all the difference in any DIY project. Here’s a quick rundown of essential equipment you’ll need for this countertop installation:
- Level (2-ft. or 4-ft.)
- Drill
- Saws (track saw, circular saw, or jigsaw)
- Caulk gun
- Painter’s tape
- Pre-drill bit
- Framing or drywall square
- Rags for cleanup
Having these tools on hand will help streamline the process, allowing you to focus on the details that matter most.
Step-by-Step Guidance: From Dry Fit to Final Touches
Here’s a brief step-by-step breakdown of the installation process. Each step is vital for ensuring a successful outcome:
- Check Cabinet Levels: Ensure your cabinets are leveled before proceeding.
- Dry Fit Your Countertops: Place the countertops on the cabinets and check their fit and alignment.
- Scribe for a Perfect Fit: Mark the contours and imperfections of your walls for accurate cuts.
- Make the Cuts: Use your saw to carefully make the cuts as per your markings.
- Install the Countertops: Position the countertops on cabinets, securing with screws as needed.
- Final Adjustments: Apply caulk around the edges for a polished finish.
Each of these steps involves critical attention to detail, making your countertop replacement not just a DIY project, but a work of art that enhances your kitchen's charm.
Frequently Asked Questions: DIY Countertop Installation
Still have questions about your project? Here are some common concerns:
- Can I install countertops myself? Absolutely! With careful planning and the right tools, DIY installation is quite feasible.
- What types of countertops are best for beginners? Laminate is often recommended due to its cost-effectiveness and ease of handling.
- How long does the installation take? This varies based on experience, material choice, and kitchen size, but most homeowners find they can complete the task in a weekend.
With the right approach, you can turn a potentially complicated task into an enjoyable home improvement project. Embrace the challenge and take pride in the transformation you create.
Ready to embrace your DIY spirit? Now is an excellent time to gather your materials and start planning your kitchen countertop replacement. Not only will this project enhance the look of your home, but it will also empower you with newfound skills in home maintenance and repairs. Remember, each successful task is a step towards becoming a more confident DIYer!
 Add Row
  Add
Add 


Write A Comment