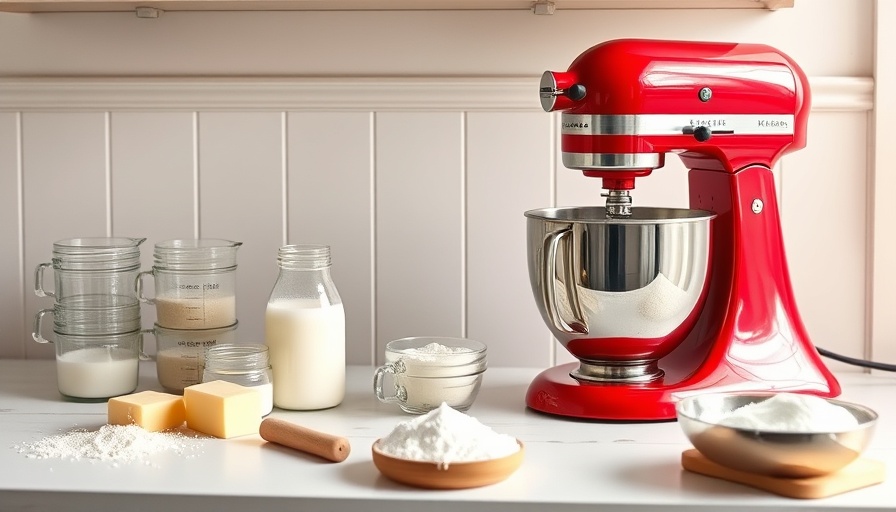
Perfectly Polished: Unlocking the Secrets to a Spotless Stand Mixer
If you're an avid baker or cook, your stand mixer is probably one of your kitchen's MVPs. However, it can often accumulate grime, flour, and those pesky traces of previous recipes. Fear not, for I'm here to guide you through the art of cleaning your stand mixer, restoring it to its original glory and ensuring it serves you well for years to come.
Why Cleaning Your Stand Mixer Matters
Picture this: you whip up a delicious chocolate cake, only to notice specks of last week's pizza dough stuck beneath the mixer. Not only is this unsightly, but it can also create a breeding ground for bacteria. A properly cleaned stand mixer not only maintains hygiene but also offers performance consistency, ensuring your mixes are smooth and evenly blended.
Supplies You’ll Need for the Ultimate Clean
Before diving into the cleaning process, gather a few essential supplies:
- Soft sponge or cloth
- Warm water
- Dish soap (mild)
- Microfiber cloths for drying and buffing
- A soft brush or toothbrush for hard-to-reach areas
- Cotton swabs for some detailed detail work
Step-by-Step Cleaning Guide
Here’s how to give your stand mixer the TLC it deserves:
1. Unplug and Disassemble
Safety first! Ensure your mixer is unplugged before commencing any cleaning. Remove the mixing bowl, attachments, and any detachable pieces that can be washed separately.
2. Wipe Down the Exterior
Using a damp sponge or cloth, wipe down the mixer’s exterior. Avoid soaking it; just ensure it's damp enough to pick up any dust or splatters. For stubborn spots, a few drops of mild dish soap added to your sponge can work wonders.
3. Clean Attachments and Mixing Bowl
The mixing bowl and attachments can usually be washed in warm soapy water. If they're dishwasher safe, pop them in for a thorough clean. Just like magic!
4. Tackle the Base of the Mixer
The base can gather crumbs and flour. Use a soft brush or toothbrush to dislodge particles from beneath and around knobs or vents. Don't forget the subtle details; cotton swabs can reach places others might overlook!
5. Let It Dry
Once clean, allow all components to dry thoroughly. A damp mixer is not ideal! For the base, wipe it down with a microfiber cloth to leave it shiny.
Future-Proof Your Cleaning Routine
Regular maintenance goes a long way in keeping your mixer in prime condition. Implement a routine cleaning schedule; after every few uses, dedicate time to give it a full clean. This approach can prevent buildup and ensure your culinary companion continues to perform at its best.
Discover Innovative Tools to Simplify Cleaning
Consider investing in tools specifically designed for appliance cleaning. For instance, appliance brushes and specialized nozzles can reach into crevices that your standard sponge can miss. This tech-savvy approach ensures every nook and cranny is immaculate.
No More Cleaning Regrets!
By adopting a thorough cleaning routine for your stand mixer, you’re not just enhancing its performance; you're prolonging its lifespan. Plus, you’ll feel proud knowing your kitchen experience is both hygienic and delightful.
Ready to revitalize your stand mixer? Embrace these steps, keep it shining, and watch as it turns your culinary dreams into a delicious reality!
 Add Row
  Add
Add 


 Add Row
  Add
Add 


Write A Comment