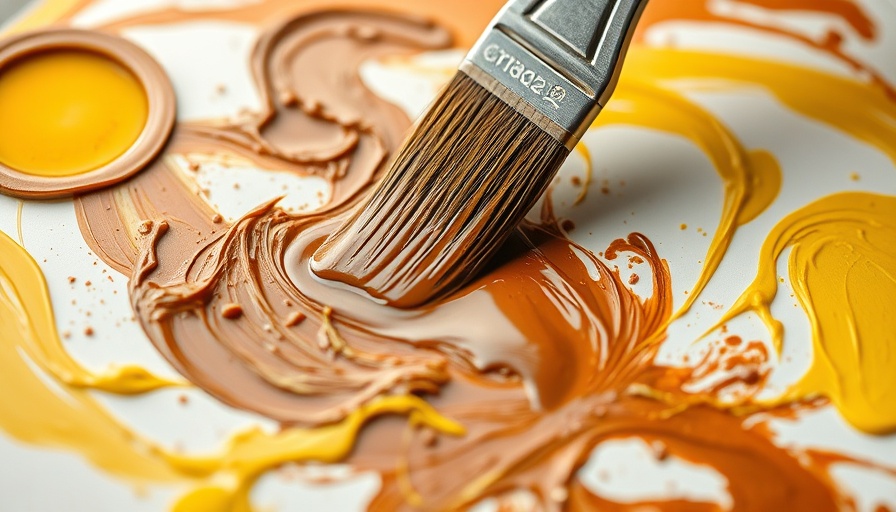
Mastering the Art of Mixing Custom Brown Paint
Creating your own custom brown paint can be a rewarding task, whether you're a DIY enthusiast or simply tackling a home maintenance project. Understanding the fundamentals of color mixing lays the groundwork for achieving the perfect shade of brown, suitable for furniture, walls, or crafts.
Why Creating Custom Colors Matters
On many occasions, you might find yourself running low on a specific paint color just as you embark on your project. Knowing how to mix your brown paint opens up a world of creative possibilities. Not only does this technique help save time and money, but it also allows you to tailor colors to fit your unique vision. This is especially true for homeowners looking to maintain a consistent aesthetic throughout their living spaces.
The Basics of Color Mixing
To mix brown, you'll need to combine primary colors—red, yellow, and blue. Remember, a fundamental understanding of color theory is essential, as the mix of these basic pigments creates the neutral and earthy tones that define brown. By adjusting the proportions of each color, you can create a variety of brown shades ranging from soft taupe to deep chocolate.
Tools and Materials Needed
For a successful DIY paint mixing experience, gather the following items: a mixing board palette, a painting or putty knife, a plastic spoon, and your selection of paints including red, yellow, blue, black, and white. Having these tools at hand makes the painting process smoother and saves you from making multiple trips to the store.
Step-by-Step Guide to Mixing Brown Paint
-
Step 1: Gather Your Primary Colors
Begin with red, yellow, and blue. Use equal parts of each color to start achieving a balanced brown tone. -
Step 2: Measure and Mix
Pour each color into your mixing palette using the plastic spoon, ensuring that each color is in equal proportions. This consistency is key in finding the right balance. -
Step 3: Adjust for Desired Shades
If the brown appears too warm, consider adding a bit of blue to cool it down. Conversely, if it seems too dark, a touch of white can lighten the mix. -
Step 4: Test Your Mixture
It's important to test your blended paint on a small section of your project. This ensures that the resulting color aligns with your expectations before committing to a larger area.
Understanding Color Terms
Familiarity with terms like hue, tint, tone, and shade can significantly enhance your painting experience. A hue is the pure color itself, while a tint is created by mixing in white, making the color lighter. Adding gray creates a tone, and incorporating black yields a shade. These concepts will help you refine your custom brown paint recipes.
Incorporating Handyman Tips for a Better Experience
As you embark on your DIY projects, combining basic handyman tips can elevate your outcomes. Use a proper approach to mixing paints, and don't hesitate to experiment with different base colors. Remember, the goal is to create a uniform and pleasing result suited to your project's needs.
Conclusion: Embrace the DIY Spirit!
Now that you’re equipped with the knowledge to make your own custom brown paint, take on your projects with confidence. Mix and match different shades to find the exact color that will elevate your home or craft project. Don't shy away from being creative!
 Add Row
  Add
Add 


 Add Row
  Add
Add 


Write A Comment