Understanding Drill Bits: A Key to Successful Home Repairs
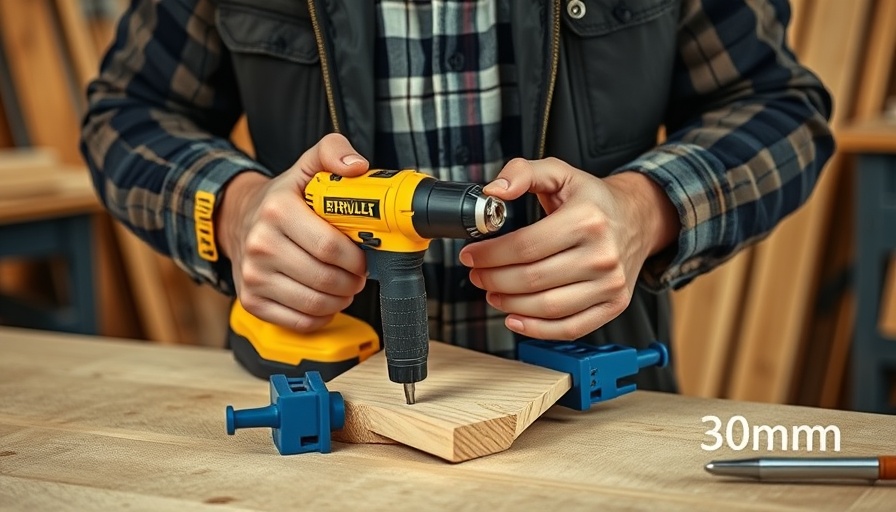
When it comes to DIY projects and home maintenance, the right drill bit can make all the difference. Just as a chef selects the proper knife for different foods, a good handyman knows that each task requires a specific type of drill bit to achieve optimal results. Whether you’re hanging shelves, assembling furniture, or performing larger renovations, understanding various drill bits is essential. Common types include twist bits for general purpose drilling, masonry bits for brick and concrete, and spade bits for wider holes. Each serves its unique purpose and knowing when to use them can enhance the outcome of your project.
Materials that Enhance Efficiency
There’s more to drill bits than just their shapes; the material they're made from greatly influences their effectiveness. High-speed steel (HSS) bits are ideal for wood and metal, while carbide-tipped bits are perfect for drilling hard materials such as tile and concrete. This knowledge is crucial for homeowners looking to invest in durable tools that can withstand the rigors of their projects. Remember, using the right material will not only help you avoid damaging your workpiece but will also extend the life of your drill bits.
Step-by-Step Guide to Selecting the Right Bit
Choosing the correct bit for your drilling needs can be daunting, especially if you're new to DIY. Here’s a simple way to evaluate your project:
- Assess the Material: Understand what material you will be drilling—wood, metal, masonry, or plastic.
- Determine Hole Size: Measure the size of the hole required. This will dictate the type and size of drill bit needed.
- Select Based on Function: If your project requires precision, opt for a bit designed for that specific task, like a brad point bit for wood.
This straightforward method can save you time and frustration while also ensuring your repairs and projects are executed effectively.
Safety First: Tips for Safe Drilling
Before you start drilling, safety should be your top priority. Always wear protective goggles to shield your eyes from debris, and use a dust mask when drilling materials that generate particulates, like wood or drywall. Ensure your workpiece is secured, ideally in a vise, so that it won’t slip as you drill. Furthermore, familiarize yourself with your drill's safety features—understanding how to use the tool properly is key to avoiding accidents.
Expert Insights: Common Misconceptions
Many DIY enthusiasts believe more expensive drill bits guarantee better performance. However, this isn't always the case. High-quality materials and proper maintenance are what truly influence performance, so choose reliable brands without necessarily opting for the highest price. Common misconceptions also extend to drilling speed; faster isn't always better. Using a slower speed with adequate pressure may yield a cleaner cut, depending on the material.
Final Thoughts: Empower Your Home Maintenance Tasks
Understanding the intricacies of drilling can empower homeowners to undertake various maintenance tasks confidently. From selecting the right drill bit based on the material to mastering safety protocols, these insights serve as your toolkit for successful home repairs. So the next time you're about to tackle a DIY project, remember that preparation and the right tools can save you time and yield professional results.
Before diving into your next maintenance project, arm yourself with these handyman tips and ensure that you have the right materials and techniques at your fingertips. Your home will thank you for it!
 Add Row
  Add
Add 


Write A Comment